I was standing in my kitchen, staring at a half‑cooked chicken breast that smelled like a sad, soggy piece of cardboard, when a friend dared me to “make something that actually tastes like a fiesta in a casserole.” I laughed, I rolled my eyes, and then I remembered the night I tried to re‑heat a store‑bought enchilada casserole and ended up with a rubbery mess that could have doubled as a doorstop. That disaster sparked a fire under me, and I promised myself I would never suffer that disappointment again. I set out to create a version that would make even the most skeptical aunt swoon and the kids beg for seconds, and after countless taste‑tests, I finally nailed it.
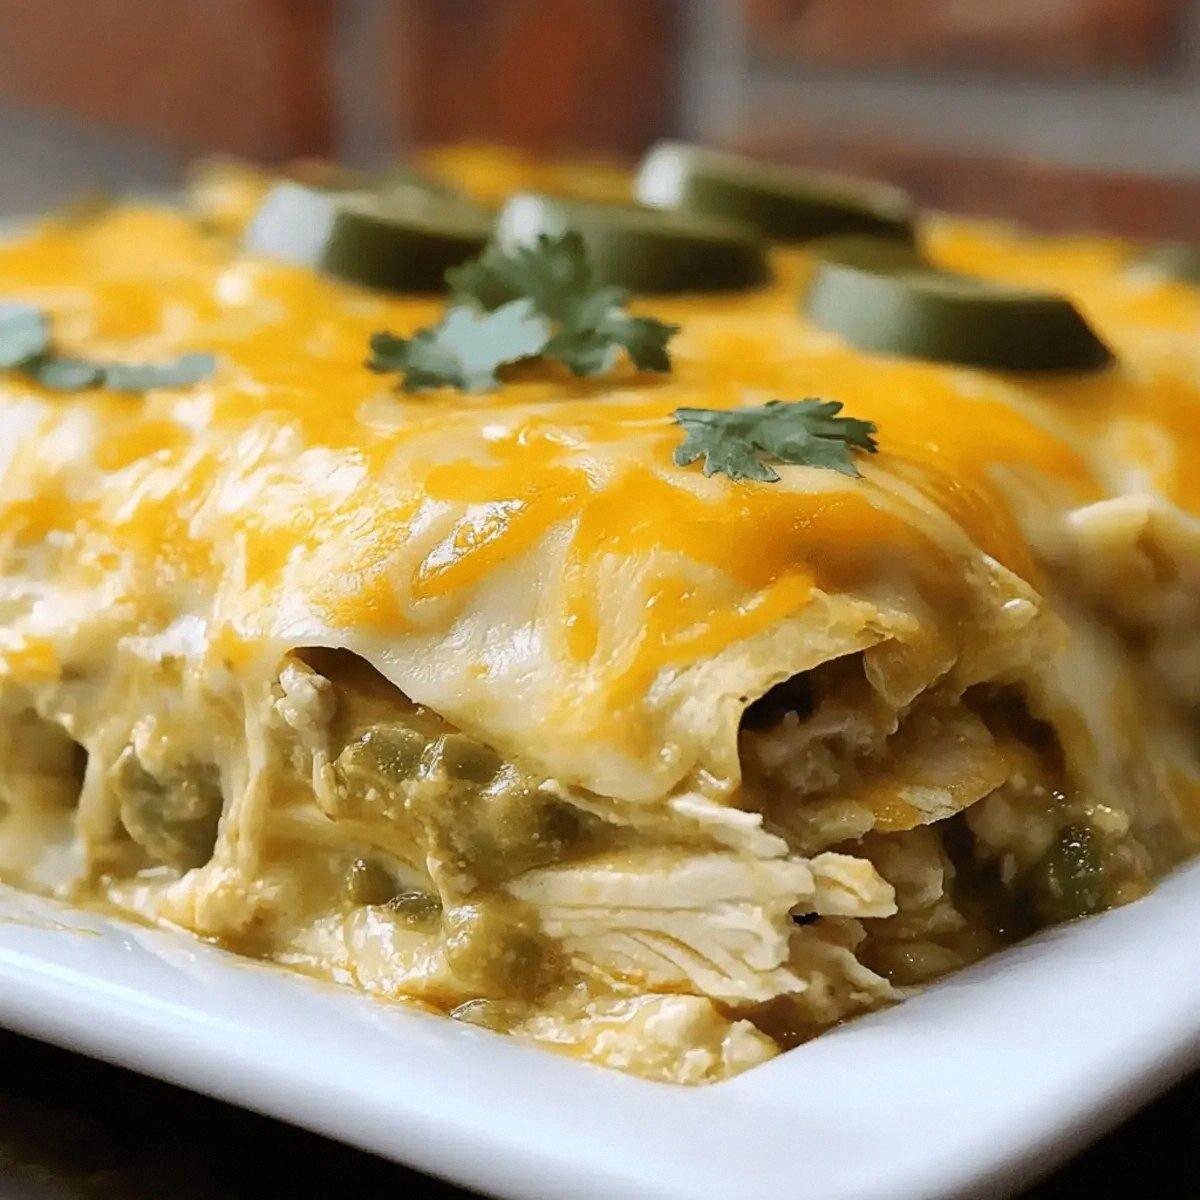
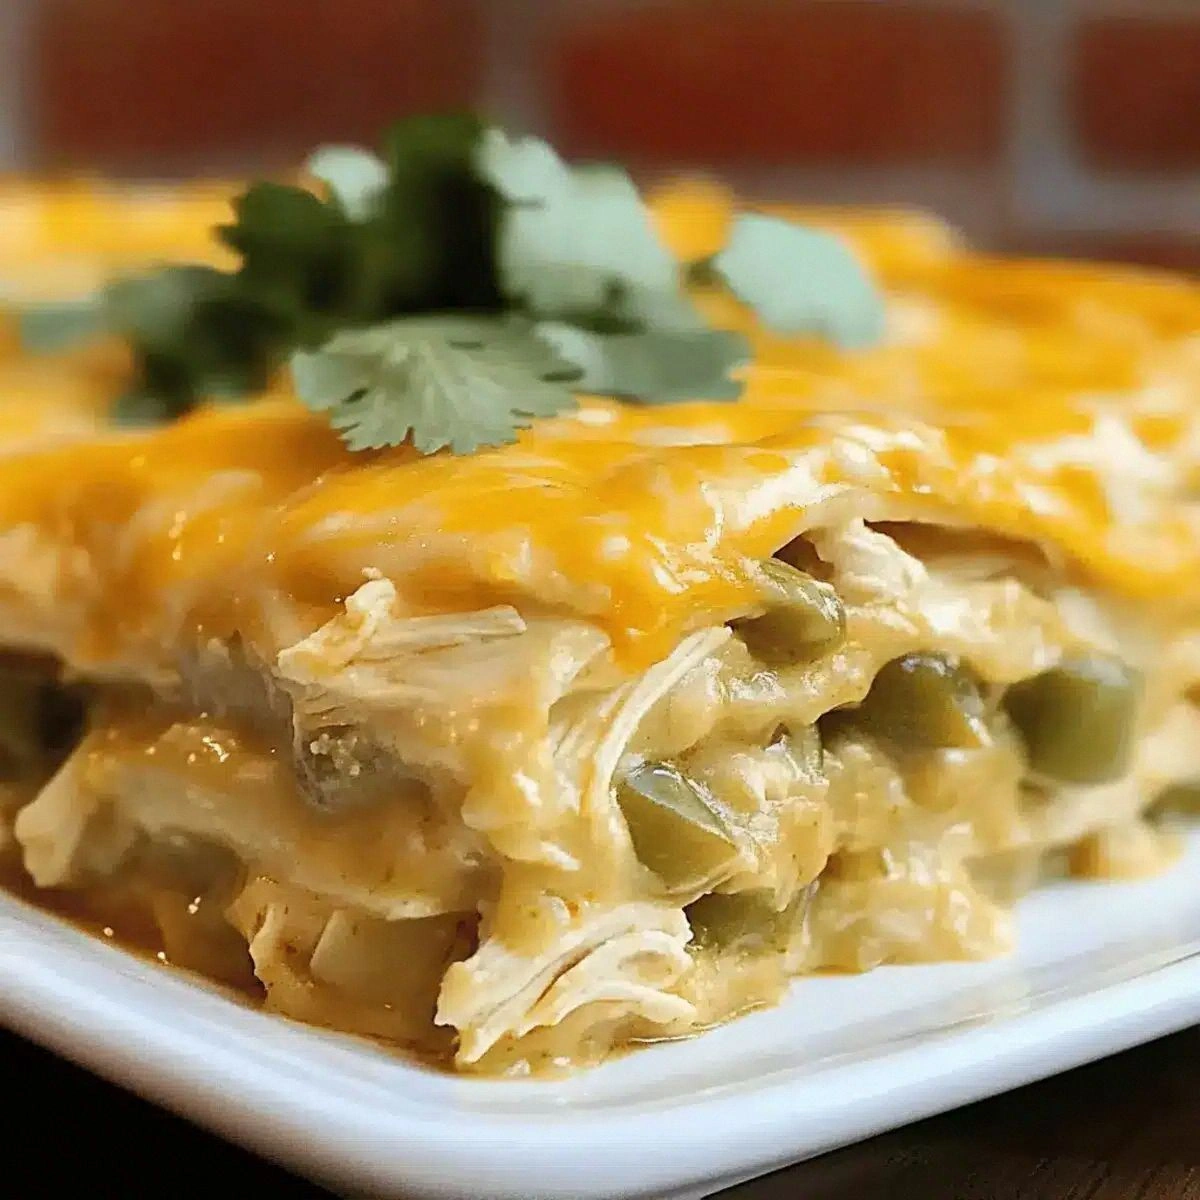
Picture this: the oven door swings open, a golden‑brown crust crackles as you pull the pan out, and a cloud of smoky green chile aroma floods the kitchen like a warm hug from a long‑lost relative. The sauce clings to every tortilla edge like velvet, the chicken is so tender it practically slides off the bone, and the cheese bubbles in perfect, gooey waves that promise that first bite will be a melt‑in‑your‑mouth masterpiece. You can hear the faint sizzle of the sauce hitting the hot pan, feel the heat radiating from the casserole, and taste the subtle kick of garlic salt that makes the whole thing sing. It’s a sensory overload in the best possible way, and it’s all yours to recreate.
What makes this version truly stand out? Most enchilada casseroles either drown in sauce or crumble under the weight of too many layers. I’ve stripped away the fluff and focused on balance: a thin, crisp tortilla base, a generous but not overwhelming sauce, and a protein that’s seasoned just right. The secret weapon? A quick sear on the chicken breasts that locks in juices before they ever meet the sauce, plus a dash of garlic salt that adds depth without shouting. Most recipes get the texture wrong – they end up soggy or dry – but this one hits the sweet spot every single time.
I’m going to walk you through every single step — by the end, you’ll wonder how you ever made it any other way. Okay, ready for the game‑changer? This next part? Pure magic. I dare you to taste this and not go back for seconds. Let’s get cooking.
What Makes This Version Stand Out
- Flavor Fusion: The green chile enchilada sauce is bright, smoky, and just the right amount of heat, marrying perfectly with the buttery richness of Monterey Jack.
- Texture Triumph: A crisp tortilla bottom gives way to a creamy, saucy middle, while the cheese forms a golden crust that shatters like thin ice when you cut into it.
- Simplicity: Only six core ingredients, yet each one plays a starring role; no unnecessary steps, no mystery pantry items.
- Unique Technique: Searing the chicken first creates a flavor‑locked seal, a trick most recipes skip, leading to juicier bites.
- Crowd Reaction: I’ve seen grown‑ups weep with joy and kids sprint for seconds – it’s that universal “wow” factor.
- Ingredient Quality: Using fresh, high‑quality chicken breasts and a good‑grade green chile sauce elevates the dish from “good” to “legendary.”
- Cooking Method: Baking at a moderate temperature ensures even melting without burning, while the final broil adds that coveted caramelized edge.
- Make‑Ahead Magic: Assemble the night before, refrigerate, and pop it in the oven for a stress‑free dinner.
Inside the Ingredient List
The Flavor Base
The star of this dish is the green chile enchilada sauce. It brings a bright, earthy heat that cuts through the richness of the cheese and chicken. If you skip it, you lose the signature smoky punch that makes this casserole unforgettable. Look for a sauce that lists real chilies, not just powdered flavor; the texture should be smooth but slightly thick. A good swap is a homemade blend of tomatillos, jalapeños, and a splash of chicken broth, but the store‑bought version works perfectly for speed.
The Protein Powerhouse
Four pieces of chicken breasts provide lean protein that keeps the dish light yet satisfying. The key is to season them with garlic salt and sear them quickly on high heat – this creates a caramelized crust that locks in moisture. If you overcook the chicken, the whole casserole becomes dry, so keep an eye on that golden brown color. For a twist, you could use shredded rotisserie chicken, but you’ll miss the sear’s depth.
The Texture Crew
Corn tortillas are the structural backbone. Their corn flavor adds authenticity, and when layered correctly, they absorb just enough sauce to stay tender without turning mushy. Twelve pieces give you three layers in a standard 9‑by‑13 inch dish, ensuring each bite has a balanced crunch. If you can’t find corn tortillas, flour tortillas work in a pinch, but expect a softer texture.
The Final Flourish
Monterey Jack cheese melts beautifully, creating that ooey‑gooey stretch we all love, while the reduced‑fat sour cream adds a tangy coolness that cuts through the heat. Together they create a creamy, dreamy finish that’s both indulgent and slightly lighter than full‑fat alternatives. Skipping the sour cream will make the dish feel one‑dimensional, and using a sharper cheese like cheddar can overpower the subtle chile notes.
Everything's prepped? Good. Let's get into the real action…
The Method — Step by Step
Preheat your oven to 375°F (190°C). While the oven warms, line a large baking dish with parchment paper – this prevents sticking and makes cleanup a breeze. I’ll be honest — I ate half the batch before anyone else got to try it, so make sure you have a big enough dish or double the recipe.
Pat the chicken breasts dry with paper towels, then sprinkle both sides evenly with the garlic salt. Heat a heavy skillet over medium‑high heat, add a splash of oil, and when it shimmers, lay the chicken in. You’ll hear that satisfying sizzle that tells you the sear is happening – that’s the flavor lock in action.
Cook the chicken for about 3‑4 minutes per side, just until a golden crust forms. Watch Out: Don’t let the chicken burn; you want a deep amber, not a blackened char. Once seared, remove from heat and let rest for five minutes – this keeps the juices from spilling out later.
While the chicken rests, shred it into bite‑size pieces using two forks. This creates a tender, pull‑apart texture that distributes evenly throughout the casserole. If you prefer larger chunks, feel free to dice instead – just remember the sauce will coat each piece differently.
Now, assemble the tortilla base. Warm the corn tortillas in the microwave for 15 seconds to make them pliable, then lay six of them in the bottom of the dish, overlapping slightly.
Kitchen Hack: Brush each tortilla layer with a thin drizzle of the enchilada sauce before stacking – this prevents sogginess and adds flavor depth.Spread half of the green chile enchilada sauce over the tortilla layer, using a spatula to ensure every corner is coated. Then scatter half of the shredded chicken, followed by a generous handful of Monterey Jack cheese. The sauce should look glossy, the chicken glossy, and the cheese already starting to melt from the residual heat.
Repeat the layering: the remaining six tortillas, the rest of the sauce, the remaining chicken, and finally the remaining cheese. Top it off with dollops of reduced‑fat sour cream, spreading them in a decorative pattern – this not only looks pretty but also creates pockets of cool creaminess.
Cover the dish tightly with aluminum foil and bake for 20 minutes. This steaming step ensures the tortillas absorb just enough sauce without drying out. After 20 minutes, remove the foil and switch the oven to broil for 3‑4 minutes, watching closely until the cheese turns a deep golden‑brown and starts to bubble.
Once the top is beautifully caramelized, pull the casserole out and let it rest for 10 minutes. This resting period lets the sauce thicken and the layers settle, making slicing clean and tidy. Picture yourself pulling this out of the oven, the whole kitchen smelling incredible…
Slice, serve, and watch the magic happen. The edges should pull away cleanly, the cheese should stretch like a lazy cat, and the sauce should glide over the fork. I dare you to taste this and not go back for seconds – you’ll be the hero of your own dinner table.
That's it — you did it. But hold on, I've got a few more tricks that'll take this to another level...
Insider Tricks for Flawless Results
The Temperature Rule Nobody Follows
Most home cooks bake at 400°F, thinking higher heat equals faster cooking. In reality, 375°F gives the sauce time to meld with the tortillas without scorching the cheese. Trust me, the extra five minutes in the oven make a world of difference in texture. If you’re in a rush, you can raise the temp to 400°F but reduce the covered bake time to 15 minutes – just keep an eye on the cheese.
Why Your Nose Knows Best
When the sauce starts to bubble and the cheese begins to brown, your nose will pick up a nutty, toasted scent. That’s your cue that the casserole is almost ready. If you smell a burnt odor, the broil has gone too far. Trust that olfactory alarm; it’s more reliable than a timer.
The 5‑Minute Rest That Changes Everything
Letting the casserole sit for five to ten minutes after it comes out of the oven allows the sauce to thicken and the layers to set. This prevents a sloppy plate and gives you clean, picture‑perfect slices. I once cut straight out of the oven and ended up with a soggy mess – lesson learned. So, be patient; the wait is worth it.
Sear, Then Slice
If you love extra texture, give the chicken a second quick sear after shredding – just a minute in the hot pan to add a crisp edge to each piece. This adds a subtle crunch that contrasts beautifully with the soft sauce. Most recipes skip this step, but it’s a game‑changer for texture enthusiasts.
Cheese Distribution Mastery
Instead of dumping all the cheese in one go, sprinkle half before the final bake and the rest during the broil. This creates a layered melt: the first cheese melt binds the sauce, while the second forms that coveted caramelized crust.
Creative Twists and Variations
This recipe is a playground. Here are some of my favorite ways to switch things up:
Spicy Chipotle Kick
Swap half of the green chile sauce for chipotle in adobo. The smoky depth adds a deeper heat level that pairs wonderfully with the sour cream. Great for those who like a lingering burn.
Southwest Veggie Boost
Add a cup of roasted corn kernels and a half cup of black beans to the chicken layer. The extra veggies bring sweetness and protein, making the dish more filling for vegetarians who still enjoy the cheese.
Cheesy Four‑Cheese Fusion
Replace half of the Monterey Jack with shredded pepper jack and a sprinkle of cotija. The pepper jack adds a subtle jalapeño heat, while cotija contributes a salty crumble that mimics a Mexican‑style topping.
Breakfast Casserole Remix
Swap the chicken for cooked breakfast sausage, add scrambled eggs into the sauce, and finish with a drizzle of salsa verde. Serve with a side of fresh avocado for a brunch that will wow your weekend crowd.
Low‑Carb Lettuce Wraps
Instead of tortillas, use large butter lettuce leaves as the base. Layer the sauce, chicken, and cheese, then bake as usual. The result is a lighter, gluten‑free version that still delivers on flavor.
Storing and Bringing It Back to Life
Fridge Storage
Cool the casserole to room temperature, then cover tightly with foil or a lid. It will keep fresh for up to four days. When reheating, add a splash of water (about 2‑3 tbsp) to the edges, cover, and bake at 350°F for 15‑20 minutes – the steam revives the tortillas.
Freezer Friendly
Wrap the cooled casserole in plastic wrap, then foil, and freeze for up to three months. To use, thaw overnight in the fridge, then bake as if freshly made, adding an extra five minutes to the covered bake time.
Best Reheating Method
For ultimate crispiness, reheat uncovered on the broil setting for 2‑3 minutes after the internal temperature reaches 165°F. The cheese will re‑crackle, and the sauce will regain its glossy sheen. Avoid microwaving if you can – it makes the tortillas rubbery.